Azure Marketplace DeploymentΒΆ

Go to the Azure Marketplace. ../_images/azure_01.png
In the Search for solutions bar, type pixstor ../_images/azure_02.png
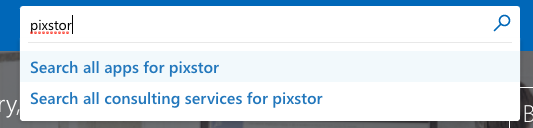
In the results, under Create, select pixstor cloud with ngenea
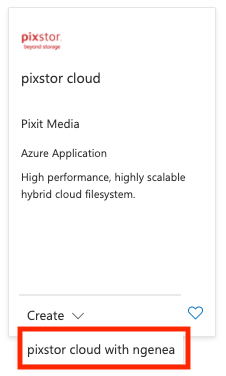
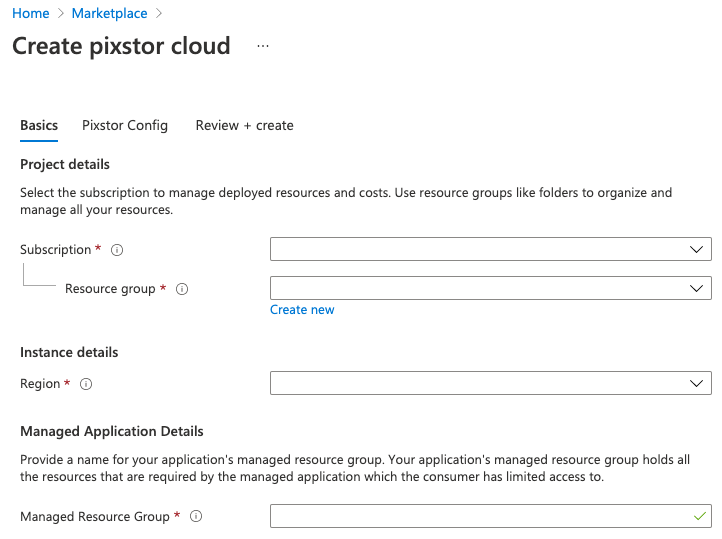
 ../_images/azure_03.png

Basic Configuration

  • Choose the Subscription.
  • Choose the Resource group to deploy the pixstor managed app in.
  • Choose the Region to deploy in.
  • Choose a Managed Resource Group name, this is where all the resources created are deployed in.

Click Next: Pixstor Config

../_images/azure_04.png

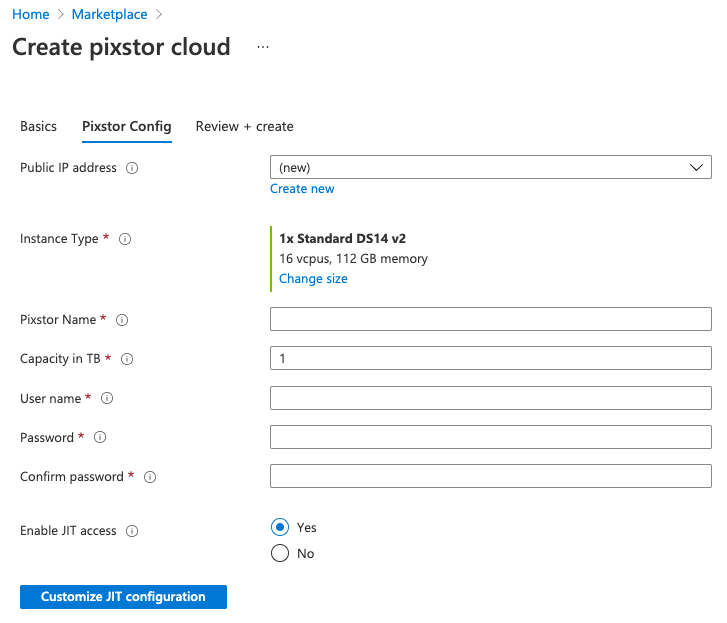
Pixstor Configuration

  • Choose a Public IP address option.
  • Choose the Instance Type to run on.
  • Choose a Pixstor Name. This will make up part of the hostname.
  • Choose a Capacity in TB. This will be the total usable capacity of the file system, with a max of 99TB.
  • Choose a User name. This is the username to SSH in with.
  • Choose and confirm a Password. This is the password for the username for ssh access.
  • Choose if you want to Enable JIT access. This will provide Pixit support access.

Click Next: Review + create

../_images/azure_05.png
In the Review + create section, check the I agree checkbox ../_images/azure_06.png
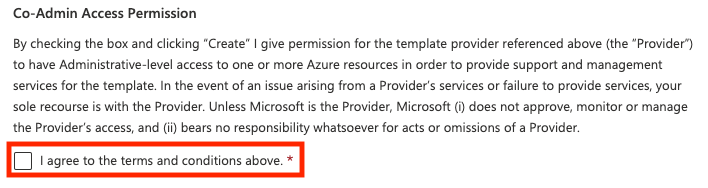
Then select the Create button ../_images/azure_07.png
Once the deployment has completed, select the Go to resource button ../_images/azure_08.png
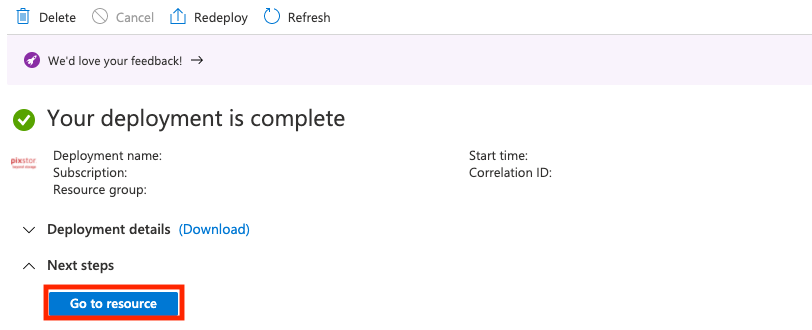
This is the landing page for the pixstor managed application ../_images/azure_09.png
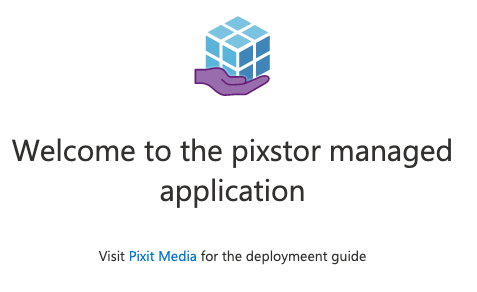
On the side bar under Settings select Parameters and Outputs ../_images/azure_10.png
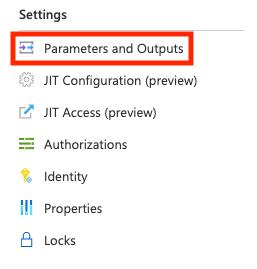
In the outputs section, it lists the SSH access details. Use this along with the password you set during the deployment ../_images/azure_11.png

The PixStor Cloud deployment is now running, ready for final configuration.