GCP Marketplace

Deployment

Go to the GCP Console and log into you account https://console.cloud.google.com/
In the Google Cloud Platform Console, select the project to use. ../_images/gcp_select_project.png
Click Marketplace ../_images/gcp_marketplace.png
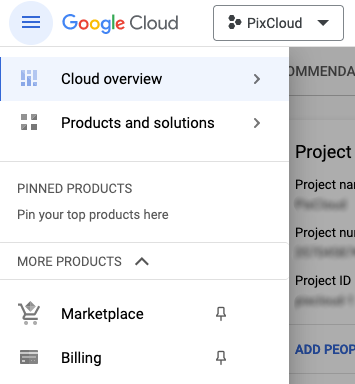
In the Search for solutions bar, type pixstor and select the pixstor product ../_images/gcp_solutions_pixstor.png
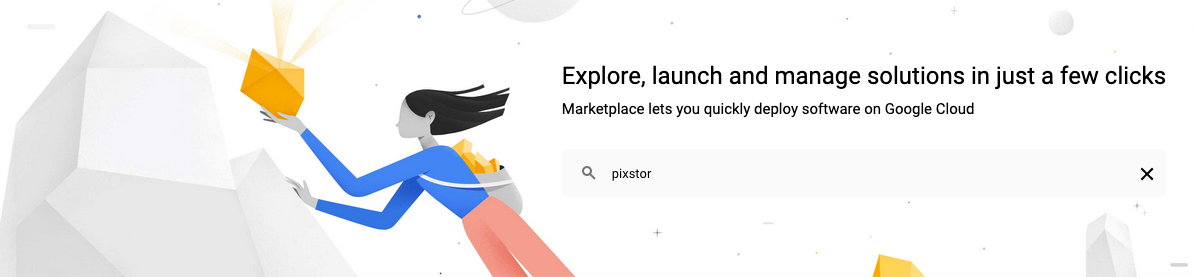
Review the documentation then when ready, click the GET STARTED button ../_images/gcp_launch.png
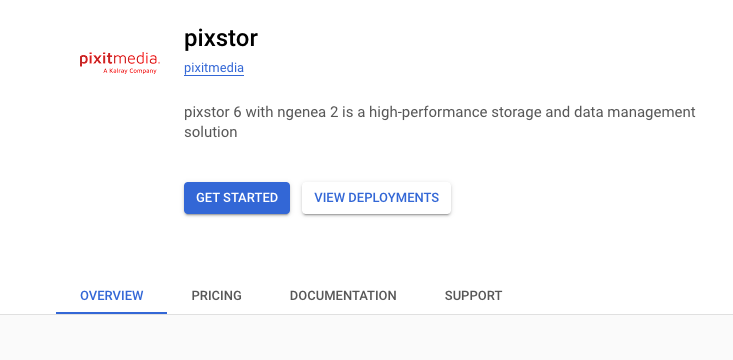
Select the Terms and agreements then select AGREE ../_images/gcp_agreement.png
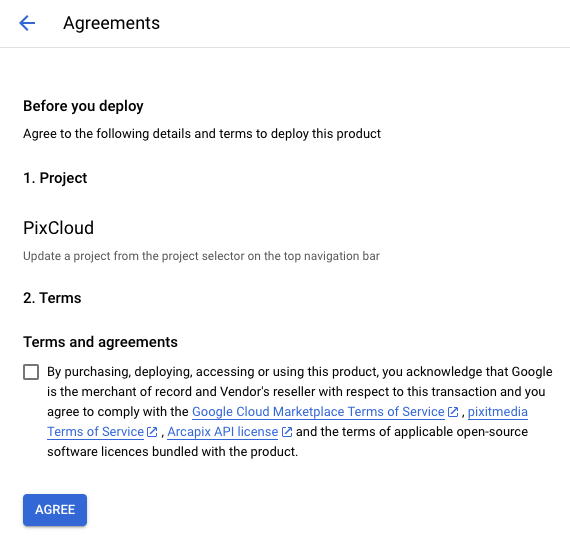
Select the DEPLOY button ../_images/gcp_deploy.png

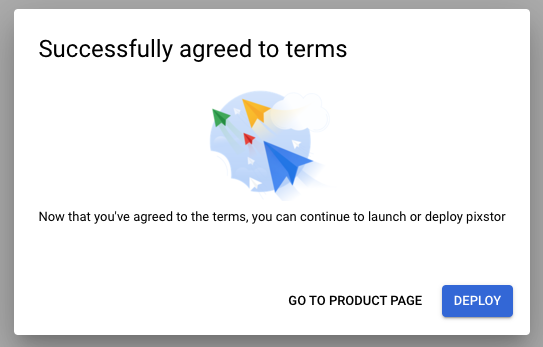
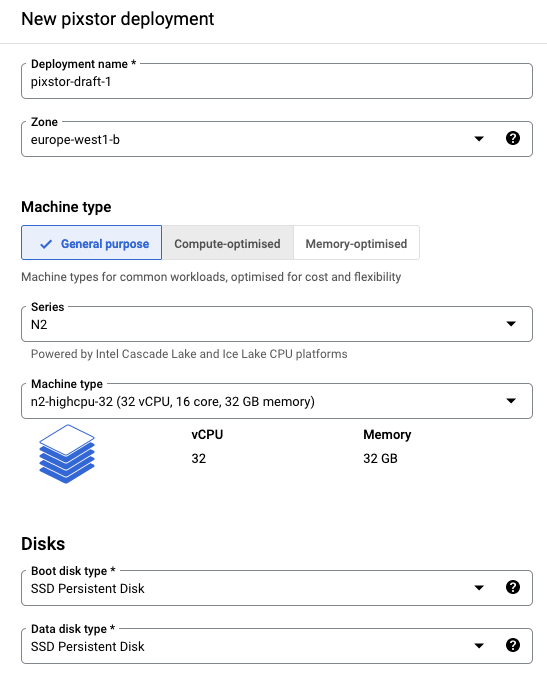
Fill in the New pixstor deployment form

  • Deployment Name
    • The name given to the deployment. Also becomes the systems hostname
  • Zone
    • The zone to deploy into
  • Machine type
    • Choose the machine type to use. The default is an n2-highcpu-32
  • Disks
    • Boot disk type
      • The type of disk to use for the boot disk
    • Data disk type
      • The type of disk to use for the data disks
  • Networking
    • Choose the network to use
  • Firewall
    • By default we need ports 22, 443, 8008, 19150 445 and 2049 open for access
    • You can specify a Source IP range if required, if not, it’ll allow access from all source IPs
    • Specify if you need IP forwarding enabled or not.
  • Select Deploy to start the build process
../_images/gcp_deployment_menu_01.png ../_images/gcp_deployment_menu_02.png

Build process

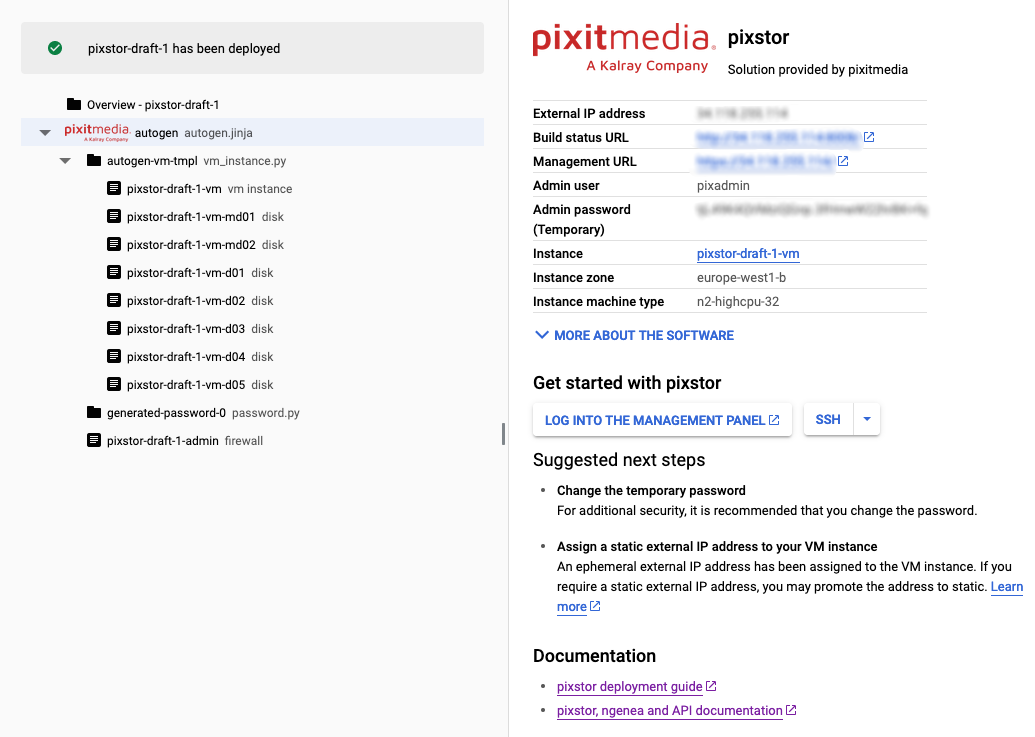
Now the pixstor has been deployed, it needs to build all the services.

From the deployment screen select the autogen item to show the output page.

From the outputs page you can watch the build process from the Build status URL

../_images/gcp_deploying.png
The build process takes between 10 and 15 minutes. ../_images/aws_13.png
Once the build process has finished, the Management URL interface will be available. ../_images/gcp_mn_manageresource.png

Access and Security

Once the stack has finished building, you can access the system with the below credentials

Credentials

UI Username Password
Management UI pixadmin The Admin password
Minio UI pixadmin The Admin password
SSH Access pixadmin The Admin password
SMB Access pixuser The Admin password

To allow access, your GCP firewall will need to be edited to allow the following Inbound access

Description Port
Management UI 443/TCP
Build UI 8080/TCP
Minio UI 19150/TCP
SSH Access 22/TCP
NFS Access 2049/TCP
SMB Access 445/TCP