AWS Marketplace
Deployment
| Go to the AWS Console and log into you account | https://aws.amazon.com/console |
In the Search bar, type pixstor From the results, select pixstor from the Marketplace listings |

|
| In the results, click Continue to Subscribe | 
|
| If you agree with the Terms and Conditions, click Continue to Configuration | 
|
| Choose the Region to deploy the solution into. | 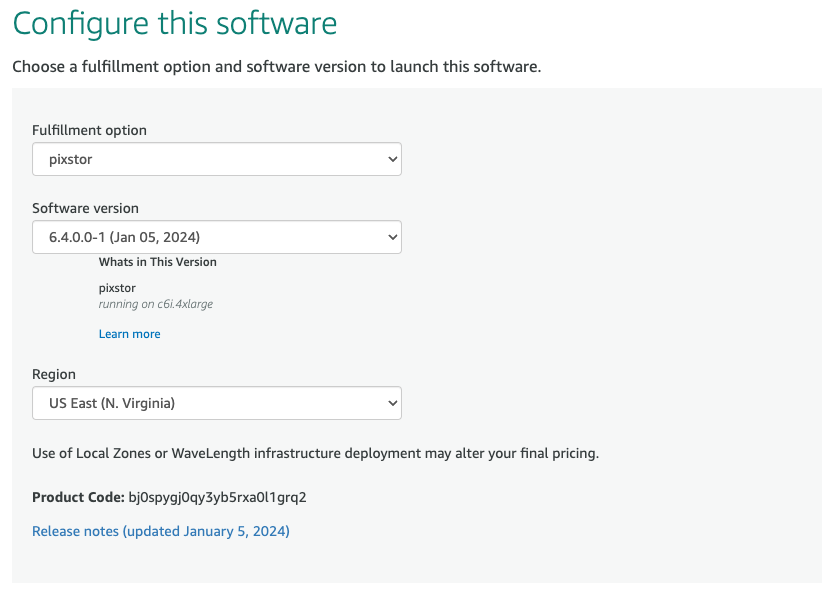
|
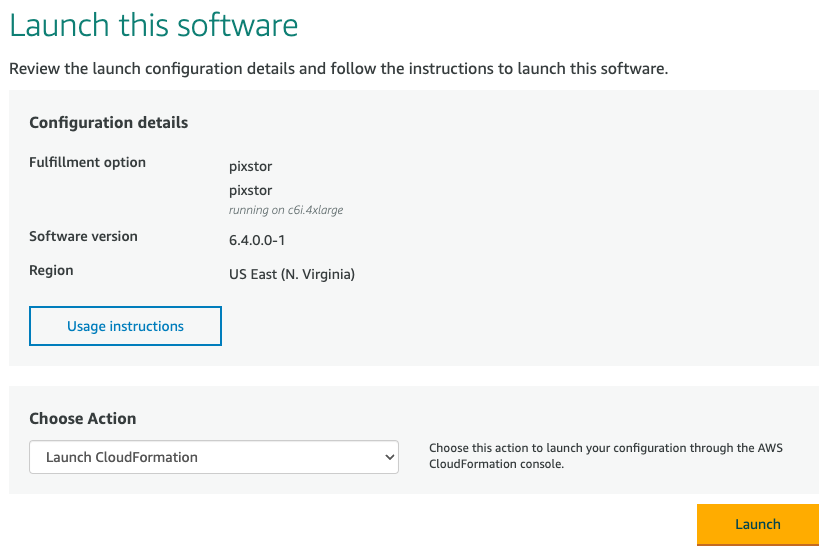
| Click Continue to Launch. | 
|
Select Launch CloudFormation from the Actions. Click Launch when you are ready. |
|
| In the Create stack page, the S3 URL is already pre-populated so just select Next | 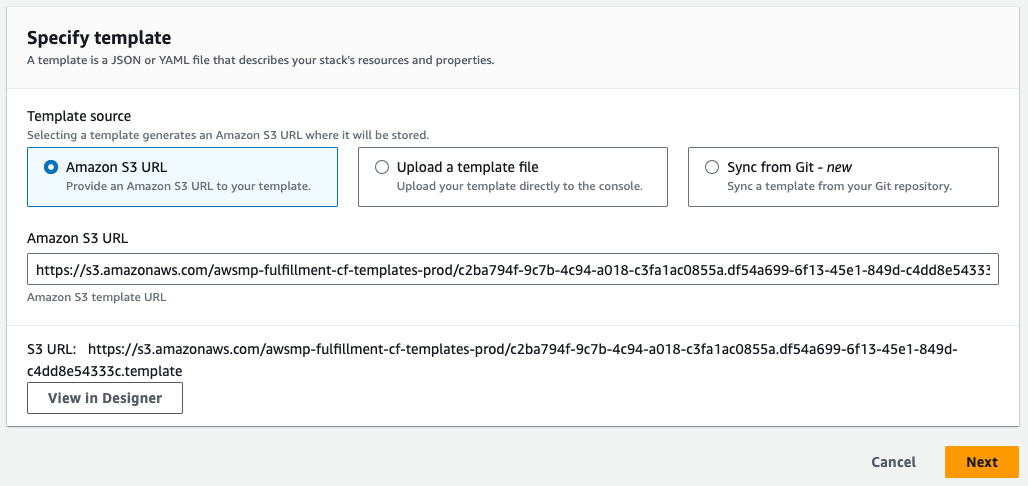
|
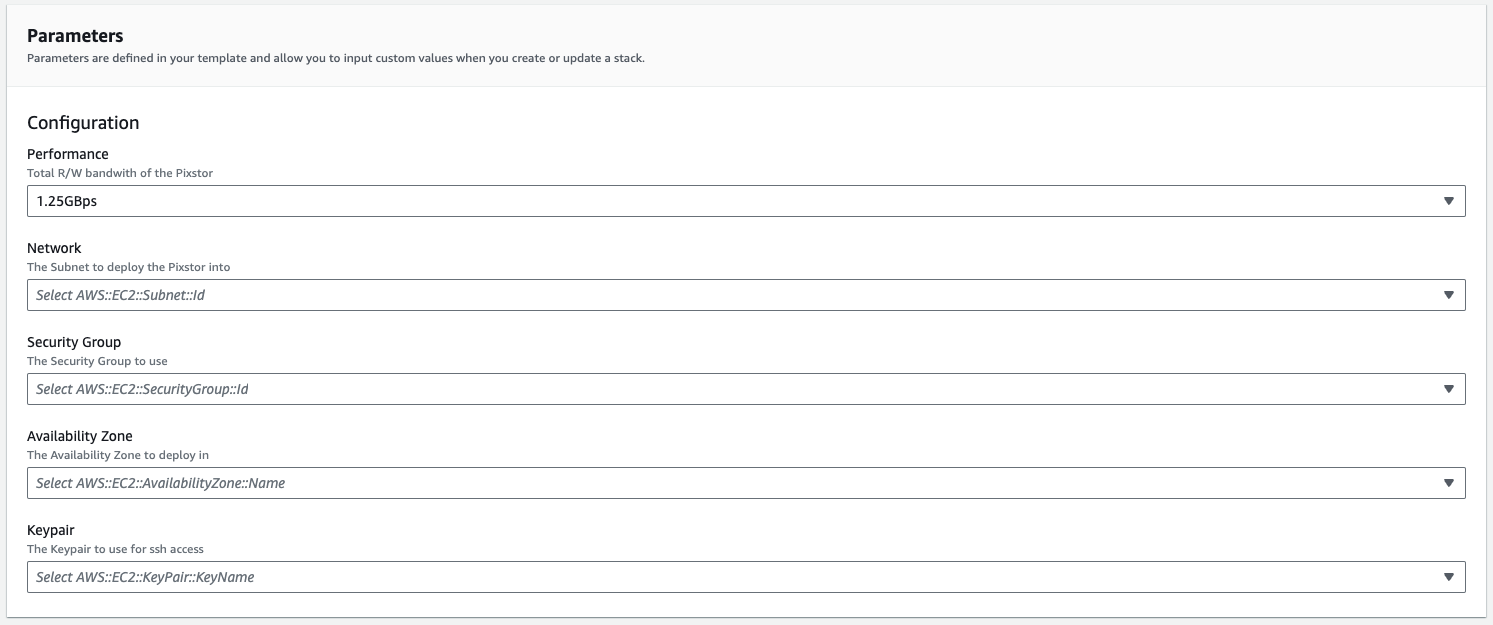
| Give the Stack a name. This will also form part of the hostname on the instance. | 
|
Stack Parameters:
|
|
| Click Next on the Specify stack details and the Configure stack options pages. | 
|
| Tick the acknowledgement checkbox then press the Submit button. | 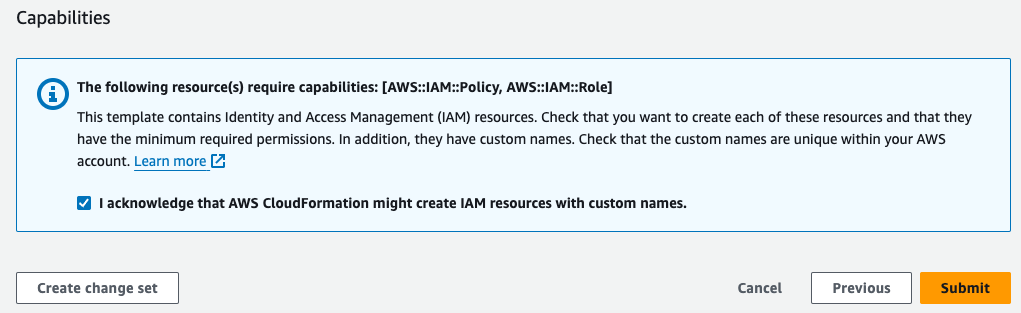
|
Note
By ticking the I acknowledge that AWS CloudFormation might create IAM resources with custom names checkbox, you allow AWS to create an IAM Policy, an IAM Role and an IAM Instance Profile for marketplace billing.
Build process
| Now the pixstor has been deployed, it needs to build all the services. From the Outputs tab of the CloudFormation Stack, you can watch the build process from the BuildURL URL. | 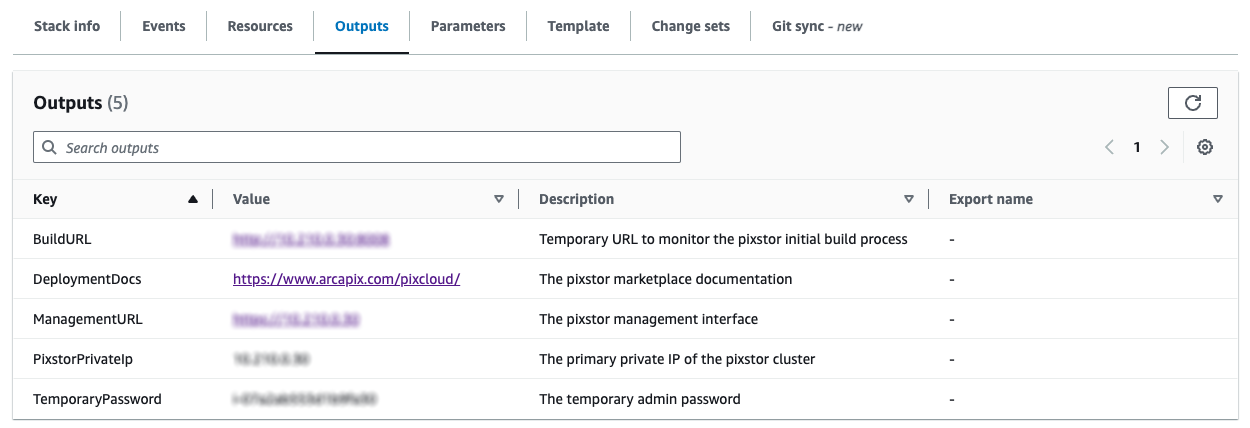
|
| The build process takes between 10 and 15 minutes. | 
|
| Once the build process has finished, the management interface will be available. | 
|
Access and Security
Once the stack has finished building, details on how to gain both SSH access and Web UI access are shown under the Outputs tab Credentials
|
|
|||||||||||||||
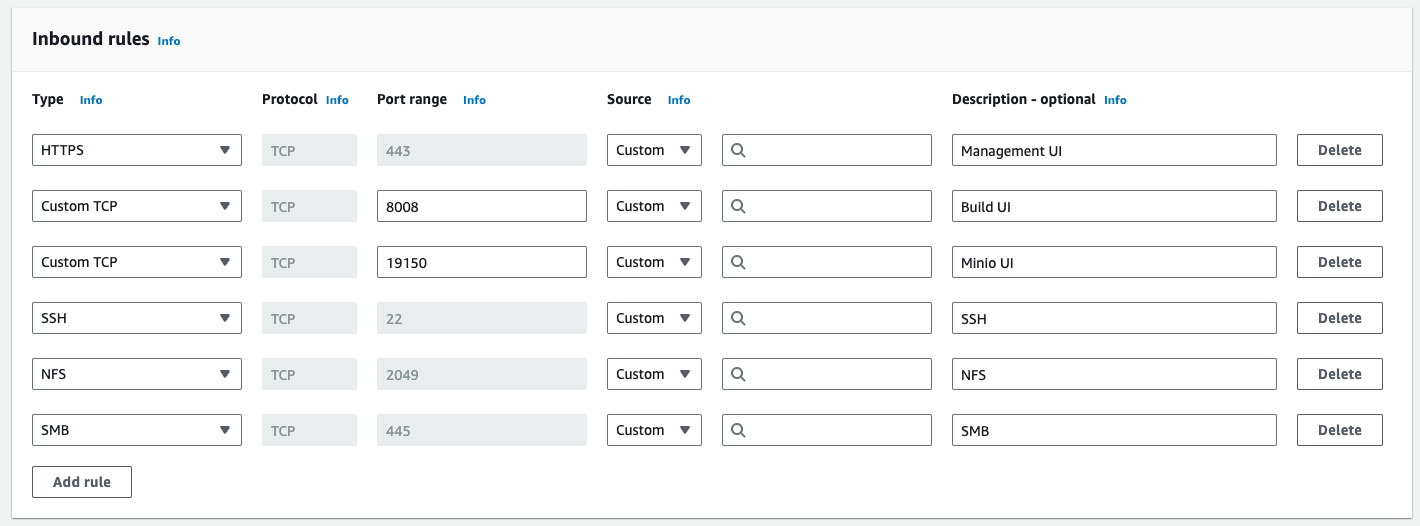
To allow access, your AWS Security Group will need to be edited to allow the following Inbound access
|
|